Whirlpool-Style Dishwasher Totally Dead
If your electronic Kitchen Aid, Whirlpool ( some Kenmore ) dishwasher is totally dead, check the main power entering the d/w for 110-120 volts AC. The door switch(s) are another common trouble maker for a dead d/w. Many of these newer electronic d/w's have a TCO thermal fuse built into them. The thermal fuse kit comes with wires and connectors, it is important to replace them with the new thermal fuse!
So far I have had to change a couple of different version of these.
Parts help for some common thermal fuses is linked here.
Version one....
~ Disconnect power
~ Remove consol and inner door
~ Locate board and fuse. The fuse is located in the upper left hand corner of the board assembly. The two tan wires from the fuse are connected to the door switch and to terminal P8 on connector CON2.
~ Unplug the tan wire from the door switch. Unlock the other tan wire from connector CON2 by first unplugging the molex housing from the board, and then unlocking the terminal from the housing with a paper clip.
~ Cut tan wire which leads from TCO to door switch
~ Remove the old fuse4 from the board assembly
~ Remove tape holding tan and black wires to door switch. Discard tan wire by pulling from harness.
~ Install the new fuse with the new tan wires attached. Plug the left wire terminal P8 onto the molex housing, and plug the housing into CON2 on the control board. Plug the right wire into the door switch.
~ Use a wire tie to connect the tan wires to the main harness. Make sure you strap the entire bundle together.
~ Reassemble
~ Reconnect power
~ Test operation. The control will/should resume from the point when the fuse failed.
Version two....
- Disconnect power to the dishwasher.
- Open the door and remove the 6 screws securing the control consol t othe inner door and carefully fold the control forward and down.
- Lift and cut the 2 existing harness wires going to the TCO ( about one inch back from the terminals ) See Figure 1.

- Remove the defective TCO from the control housing, using a flat blade screwdriver to lift the snap.
- Using wire strippers ( set for 16 gauge wire ), strip the 2 cut harness wires on the existing wiring harness approximately 1/4" each and tightly twist the wire strands on the end of each wire.
- Insert each stripped wire, one at a time, into the terminals block on the end of the new TCO kit wiring assembly and tighten the screws securely. Tighten the screws using a small flat blade screwdriver. See Figure 2.

- Clip the new cut off ( TCO ) that part of the kit onto the d/w control housing. See Figure 3 to confirm proper orientation of the mylar shield on the TCO.

- Using mini zip ties provided, secure wiring together and away from electrical components. See Figure 4.

- Fold control panel back into position and reinstall the screws.
- reconnect power and test.
Version three....
~ Disconnect power
~ Remove consol and inner door
~ Locate board and round fuse. See instructions that comes with the part. Make sure you follow them!
-
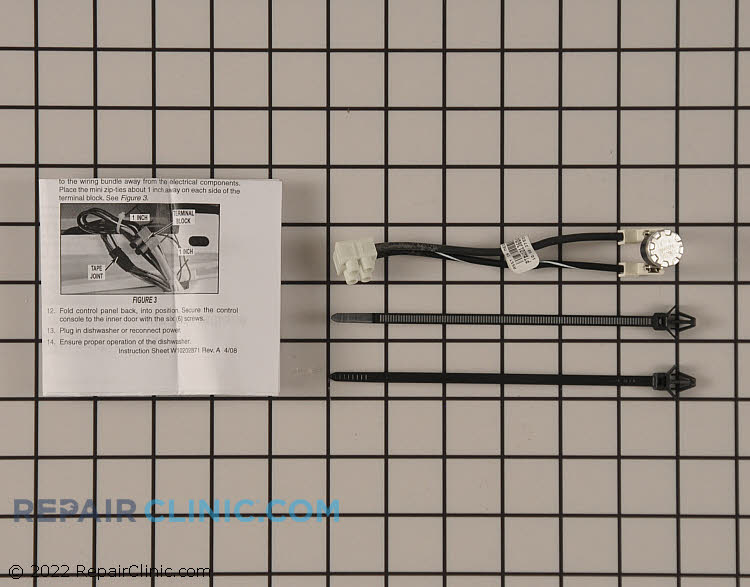
Dishwasher thermal fuse assembly
Item Number W10258275
-
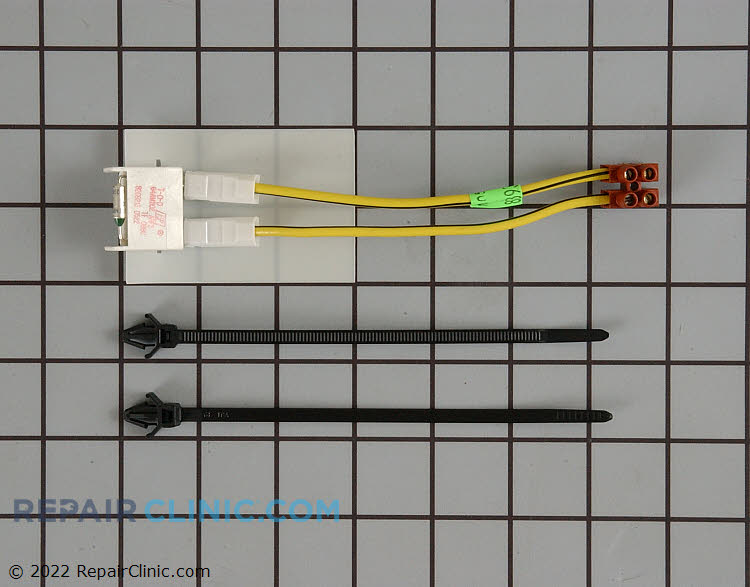
Fuse kit with wire harness
Item Number 8193762
-
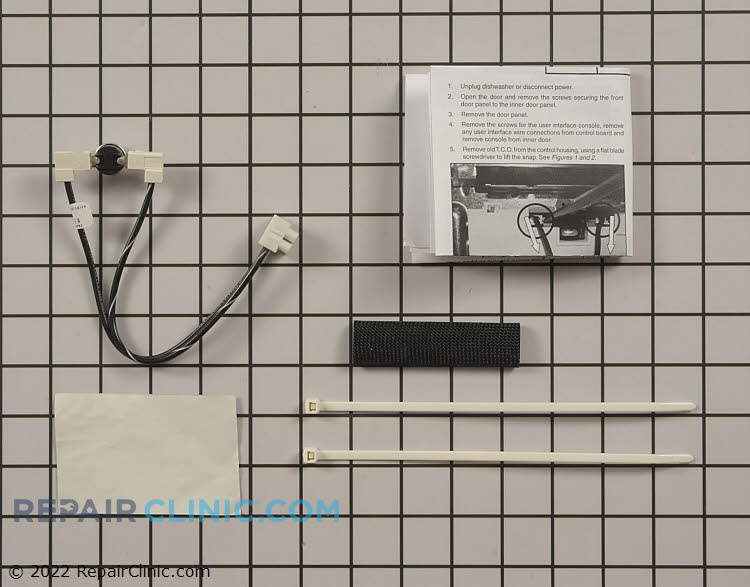
Thermal Cut Out Fuse Kit
Item Number W10402110
-
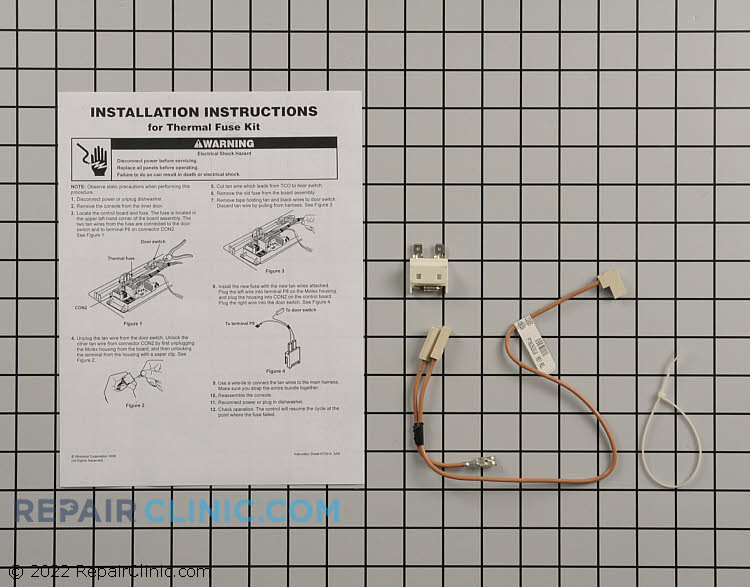
Dishwasher thermal fuse kit with harness
Item Number 675813


