
Whirlpool Dryer Rear Drum Seal Replacement
Installing a common rear drum seal, tips and instructions....
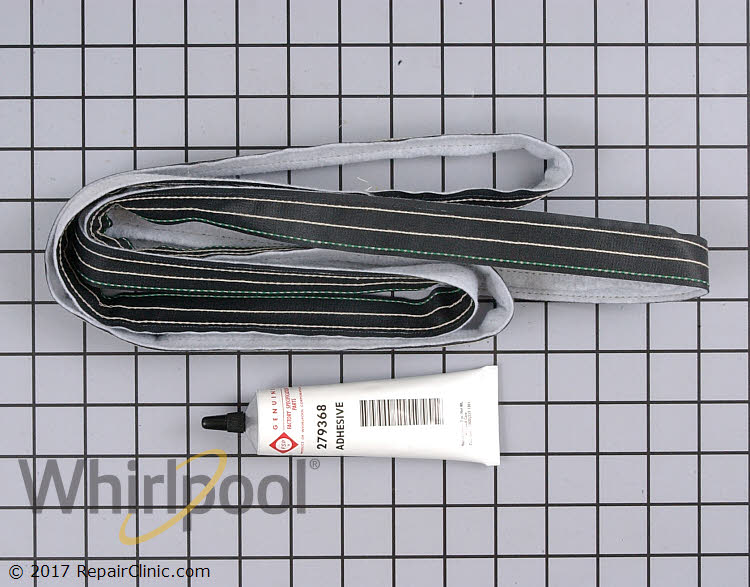
Rear drum seal mounting procedure:
- Unplug the dryer or shut off power
- Remove the drum assembly from the machine Lint filter on top style take apart slide show
- Remove the old seal from the drum assembly ( normally will just pull off - lightly sand to clean up the edge )
- Install the new seal with stitched edge toward the front of the drum...see figure A.
- Raise the seal to position it with the center fold against the drum edge.
- Apply adhesive on drum under seal. Allow adhesive to set. Press down seal to assure a good bond.
- Reinstall the drum. Reinstall the front panel.
- Place a small screwdriver or putty knife under the seal and on top of the bulkhead.
- Turn the drum by hand one full turn ( CCW ) making sure the rear seal is riding on top of the ridge on the bulkhead and not turned under. See figure B.
- Reassemble dryer.
- Plug in dryer or reapply power and test.
Lint filter behind the door style take apart info


Shop Whirlpool Dryer Felt Seal Parts
![]()