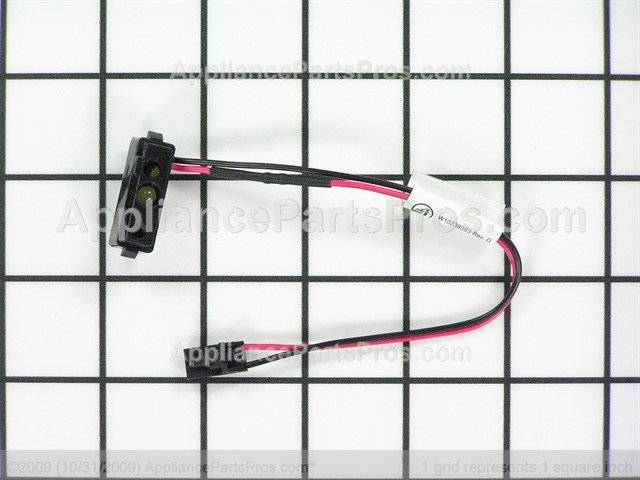
Samsung refrigerator sensor and thermistor helps:
Sensor can control everything
Try not to change a sensor without testing it first....ways to test:
1) - Test by DC voltage only at the main PCB, with the power on.
2) - Remove sensor from the unit to do an ohm or resistance test.
3) - Use the temperature resistance, DC voltage chart which is down further on this page.
Sensor Functions
Defrost - The sensor shuts off the defrost heater at 50 degrees F in the freezer and 63 degrees F in the fresh food section.
Compartment Temp - The sensor controls the fan/compressor on/off to maintain the temps.
Ice Production - harvests when the ice maker sensor reads 1.5 degrees F for 5 minutes. Flex tray ice maker only. If the door is opened during that 5 minutes, the harvest is delayed.
Cool Zone Drawer - Temp controlled by the sensor that opens or closes an air damper to allow cool air into the drawer, a heater is often built into the damper to prevent frost.
Ambient Sensor
Fan Speeds - If the room is below 60 degrees F the condenser fan is off.
Defrost Timing - The warmer the room the more often the defrost cycles.
Some Samsung Refrigerator Sensors...
-
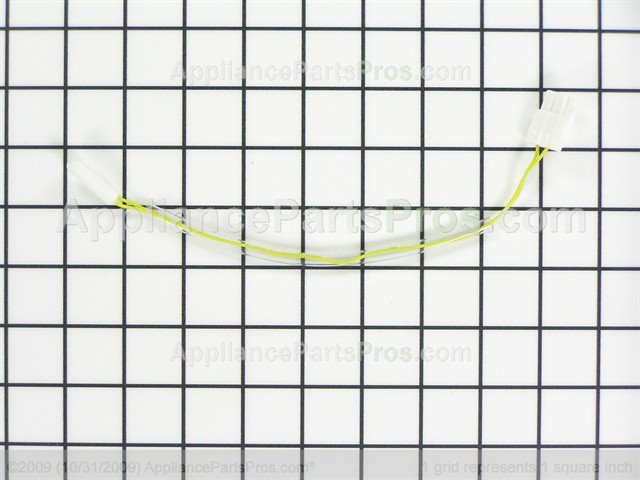
Temperature sensor
Item Number DA32-10104N
-
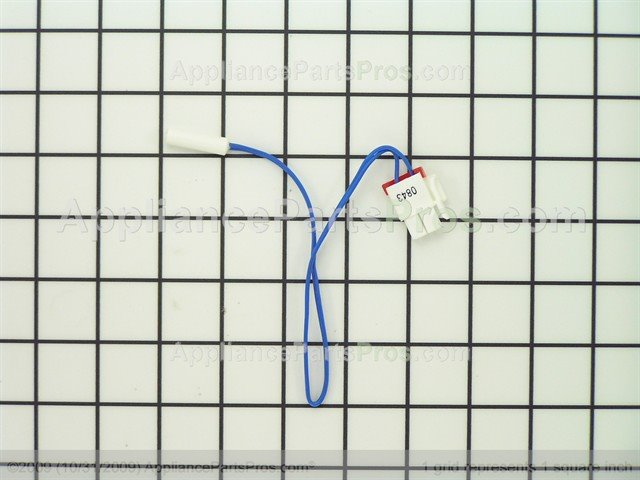
Temperature sensor assembly
Item Number DA32-10109W
-
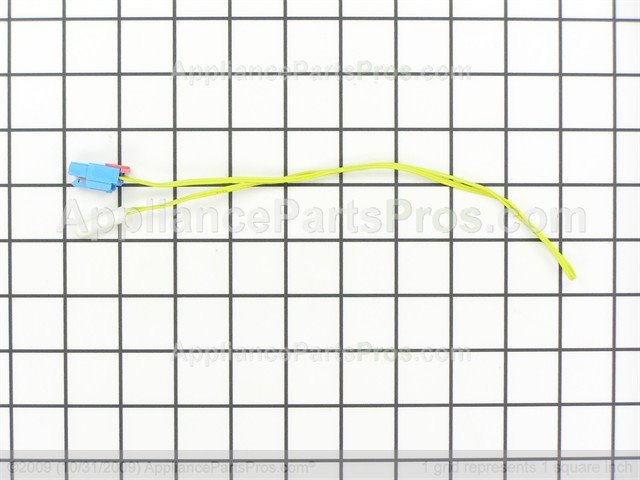
Temperature sensor
Item Number DA32-10105X
-

Temperature sensor
Item Number DA32-00029Q
-

Temperature sensor
Item Number DA32-10105G
Failures
Any sensor failure will cause the display to come up with a fault code after a power interruption. Some units will not start up when this happens, others lock the display. To start, put the unit into diagnostic mode.
Defrost - If the sensor is bad it will shut off the defrost circuit in a few minutes or not start, causing ice build up. This sensor may also cause the unit to shut down totally at defrost, it will restart after removing power and restarting the unit.
Testing: Check the DC voltage across both evaporator defrost sensors at the main PCB, with the compressor running. They should read less than a tenth of a volt difference, as they are both on the same refrigerant line. They usually read 3.7 VDC to 3.8 VDC, after the compressor has been running for about 10 minutes with the doors closed.
Compartment Temp
After checking for fault codes, unplug unit and plug in after a few seconds. The display will now show actual compartment temps. Check the actual temps in both compartments and compare to the display reading. If you are within 3 or 3 degrees the sensor are likely good.
Ice Production
Off value sensor will cause ice maker to harvest before the water is frozen or delay harvest for an extended time.
Cool Zone Drawer
No/poor temp control.
Ambient Sensor
This will fail in the "safe mode" causing the main PCB to think the room is hot. Short time between defrosts, fan run at high speed and slower ice production.
How to Check Sensor Resistance Accurately
Make ice slurry. To do this, fill a cup with ice ( preferably crushed ), then add water and a teaspoon of salt to make a slush. Mix thoroughly and allow to sit 2 to 3 minutes. This will give you a 32 degree F reference. Now, lower the sensor into the mixture and leave for about a minute, then check the resistance. It should be very close to 13,300 ohms. Before reinstalling the sensor, be sure to rinse it with fresh water and dry it.

Related Links
- Samsung Genuine DA97-17376B Refrigerator Water Filter, 1-Pack
- Samsung Products DA29-00003F Aqua-Pure Plus Refrigerator Water Filter 1 Pack
- SAMSUNG DA97-15217D Refrigerator Ice Maker Assembly Genuine Original Equipment Manufacturer Part
- Samsung Electronics HAFCIN Samsung DA29-00020B Refrigerator Water Filter, 3 Pack, White


