How To Take Apart A GE Dryer
Disconnect power first...
Slide show - how to take apart for the older GE dryer

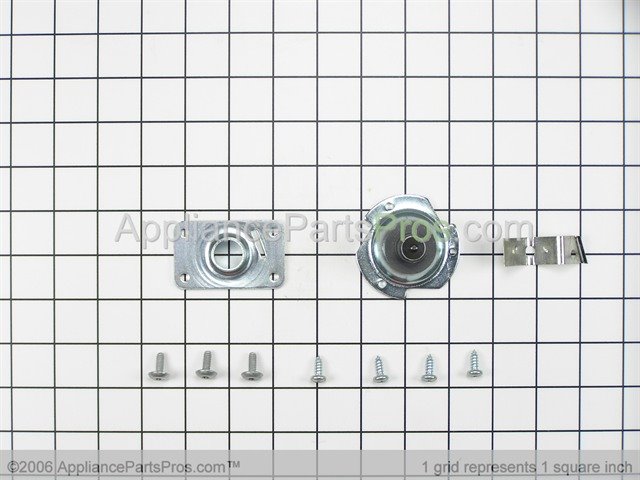
Rear drum bearing kit
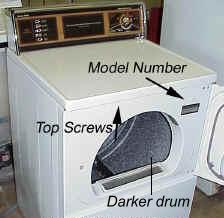
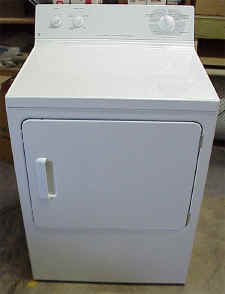
Open the dryer door and locate the screws to lift the top, this is the same on old and newer styles. The older top can now be hinged back and leaned against the wall, the newer GE style dryer ( 1997-present ) only the front part of the top will come lift off as the timer and console stay in place with the top lifted. Locate the screws inside the front panel ( picture one ) ( picture two ) at the top, remove these screws. The older style front should be moved off to the right side, while the newer front should be moved off to the left side...this is because of the door switch wires. To remove the drum on a newer style GE dryer, once the front and top are removed, locate 2 screws about 6 inches from the floor on left and right side and remove them. This will allow you to "push" out the side panels a little to help the drum clear the front panel. Disconnect the belt from the idler pulley and motor pulley. The drum will lift ( picture one ) ( picture two ) right out towards you. On the older style GE dryer, you will have to disconnect the belt from the idler pulley and motor pulley, then pull out the dryer and remove a small access panel from the middle of the dryer back. Then remove the small clips and washers before being able to lift the drum out from the front ( no extra screws to remove from the front like on the newer style dryer ). The heating element is found mounted to the back wall behind the dryer drum. The gas burner is on the bottom right of the dryer.
We have tried to split up some of the GE dryer repair helps into the older style and newer style sections....but there are some Frigidaire built dryers out there with the GE name/Logo on them that will not look like either!

Older style dryer has a darker colored drum

Newer style GE dryer has a lighter colored drum
General Electric Washer Dryer Combo Parts
Related Links
- General Electric Dryer Heating Elements
- General Electric Dryer Belts
- General Electric Dryer Burner & Related Parts


