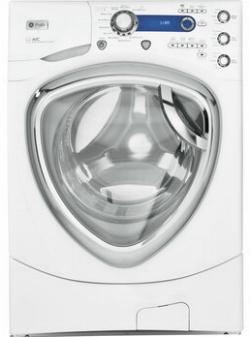
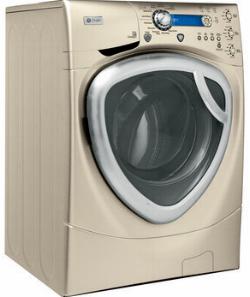
GE Profile front-load washer error codes:
Reference Model: None
Picture help - GE Profile front-load washer:


These error code explanations can help you diagnose a problem with your GE Profile front-load washer.
| Code | Meaning | Possible Cause | Possible Parts |
| E1 | User interface control board is defective | Unplug the washer for 3 minutes to reset the control boards. If the code appears when you plug the washer in, replace the user interface control board | User interface control board |
| E2 | Main control board is defective | Unplug the washer for 3 minutes to reset the control boards. If the code appears when you plug the washer in, replace the main control board | Main control board |
| E4 or E5 | Failed thermistor | Unplug the washer and reconnect any loose wires on the thermistor (temperature sensor). Replace the wire harness if damaged. Check the resistance of the thermistor using a volt/ohm meter. If the resistance of the thermistor is less that 10,000 or more than more than 14,000 ohms, replace the thermistor | Thermistor, wire harness |
| E6 | Water level sensor is defective | Unplug the washer and reconnect any loose wires on the water level sensor. Replace the wire harness if damaged. Test the water level sensor using the service test mode as described in the tech sheet. (The tech sheet is behind the lower front service panel. Unplug the washer before removing the lower front service panel to access the tech sheet.) If the water level sensor fails the test, replace it | Water level sensor, Wire harness |
| E7 | Slow fill | Make sure the water supply faucets behind the washer are fully open. Check the fill hoses for kinks or, in winter, freezing. Check the screens on the water inlet valves for debris or deposits. Replace the water inlet valve assembly if the water inlet screens are clogged | Water inlet valve assembly |
| E8 | Drain problem | Remove excess suds; the washer can't drain excessively sudsy water. Unplug the washer and check the large-item filter in the drain pump for a clog. If the drain pump is defective, replace it | Drain pump |
| E9 | Dispenser problem | Unplug the washer and check the mechanical linkage on the dispenser housing. Repair or replace any damaged parts | Dispenser assembly parts |
| E10 | Drive motor communication error | Unplug the washer and reconnect any loose wires on the drive motor. Replace the wire harness if damaged. If the wiring connections are okay, have a service technician check the motor and the main control board in the washer. The drive motor and/or the electronic control board may need to be replaced | Drive motor, Wire harness, Main control board |
| E11, E12, E13 and E28 | Door lock assembly problem | Check the door lock assembly for damage or a loose wiring connection. If there are no problems, replace the door lock assembly | Door lock assembly |
| E14 | Washer overfilled with water | Unplug the washer and, if the washer is overfilled with water, check the water inlet valve assembly for proper shutoff of water flow. Replace the water inlet valve assembly if the washer continues to fill with water while electrical power is disconnected. If the washer is empty when this error code appears, replace the water level sensor | Water level sensor, Water inlet valve assembly |
| E15 | Drive motor windings are defective | Unplug the washer and reconnect any loose wires to the drive motors. If the wiring connections are okay, replace the drive motor | Drive motor |
| E16, E18, E19, E20 or E21 | Drive motor problem | Ensure all 4 shipping bolts have been removed. Rotate the spin basket to see if it spins freely. Remove any foreign objects that may be trapped between the spin basket and the outer plastic tub. Unplug the washer and reconnect any loose wiring connections on the drive motor. If the wiring connections are okay, replace the drive motor | Drive motor |
| E22, E23, E24, E25, E3 or E17 | Internal failure in the drive motor | Unplug the washer and reconnect any loose wiring connections on the drive motor. If the wiring connections are okay, replace the drive motor | Drive motor |
| E26 | Communication failure between the user interface control board and the main control board | Unplug the washer and reconnect any loose wires to the user interface control board and main control board. If the wiring connections are okay, replace the user interface control board. If the problem persists, replace the main control board | User interface control board, Main control board |
Related Links
- Affresh Washer Cleaner 3 Pack
- General Electric Washer Door, Door Glass & Parts
- General Electric Washer Latch, Catch, Lock Parts


