Frigidaire 417.######## Washer Drum Gasket Replacement
How to remove and replace the drum gasket on the Frigidaire - Kenmore (417.########) Front Load Washer with notes on tub bearing replacement and inner drum replacement....
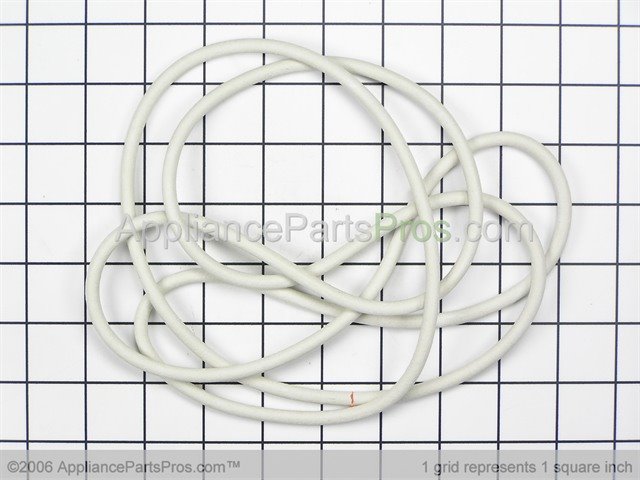
O-Ring between front and rear outer tubs

Outer tub assembly with bearing and seal - No Longer Available - Bearings and seal only are still available.

Inner tub with spider and shaft (this often has an extended part warranty, check your use&care manual)
Repair manual is great for repairs and a must if you want to do future service as well.
- Bring Band-Aids, Frigidaire seems to leave many sharp edges!! Remove top panel. Most of these have front controls, so the screws on the top back allow the whole top to come off easily, remove the screws and pull the cover forward. If the dryer is mounted on top of the washer, remove the dryer off first. Remove the 2 lower screws on the front panel, pull kick panel down and off. Turn off the hot and cold water taps and remove back panel.
- Loosen two screws that hold weight on back half and slide out weight.
- Remove drive belt. Cut wire tie, unplug motor and leave wiring in the bottom of the washer. Remove 4 screws/bolts that hold on motor and remove motor.
- On front right, loosen screw and remove rubber drain trap from tub. Squeeze large snap ring and remove water level sensor ( thing that looks like an old fuel filter ) from rubber drain also. Remove little hose from top of water level switch also. ( NOTE: You can also disconnect the level switch hose at the top of the washer. This will make it easier to re-connect, however you'll need to be careful that you do not damage the hose when you remove the tub assembly ).
- At this point, you might want to remove the motor control board and pump motor assembly. Each is secured by 2 screws and are easily removed. This will prevent accidental damage and give you more room inside the washer to work with. There are 2 connectors on the control board and 1 on the pump motor – be sure to remove those first.
- Shocks, push the lock tab to allow the pin to be slid out of the tub and the shock will be free from the drum. ( picture help one and picture help two )Push pins through to the rear and remove. The baskets will now be hanging from the springs.
- From top, twist out the tube from top of the outer tank. Place support under drum. I use 2 blocks of wood.
- From front, carefully cut the glued spots where the door seal is glued to the front panel and remove the fill spout holder clip. The tools used is a piece of copper tubing flattened down. I use a wire tie to reinstall as the metal clip can be a pain to work with!
- Drum should just be hanging from 2 large springs. Remove the clips/spring holders that go over the top of the springs so they can be lifted and removed from the washer. Start on either side, lift spring, move toward center and lower to disconnect drum from the frame. Completely remove spring. Repeat on the other side. Drum should now be sitting on the supports.
- From above, lift drum and slide out the rear. Leaves you with an empty cabinet.
- Lay drum on front face on a blanket or sheet and start to remove screws that hold halves together. Once all screws are out, the back half with pulley (top half if sitting on face) easily lifts up from the other half.
- Remove and replace tub gasket seal. New seal will appear thicker than old one. The old seal can be picked out with a small flat screwdriver.
- Place supports in bottom of washer. Lift and slide drum back into place on top of supports.
- I use a zip/wire tie to go around the water fill tube where the spring clip was and then cut the leftover tail off of the zip/wire tie. I remove the 2 screws holding the plastic hose in place to make installing the wire tie easier. Push the rubber boot over the plastic hose and use the wire tie to secure the boot to the plastic hose. Helps to install drum support springs (big ones on top) first.
- Install safety clips back over springs. Glue the top hose back into place.
- Front assembly reverse of disassembly.
- Back and Motor assemble reverse of disassembly.
- Finally, pull the boot over the front of washer. Don't do this until drum is in fully, or the boot might not end up on straight and might twist a bit. Small spots are re-glued again in place, super glue works well for this.. Spot glue at the 12 o'clock, 1, 2, 3, 4, 5, 6, 7, 8 and 9 o'clock positions around the opening.
- Put on back and top.
- Run load, check for leaks. Note: back panel is structural and should be on for a load to be run.
- Should be done. Total time 3+ hours. I hope this helps anyone who has to get into the Frigidaire - Kenmore ( 417.###### ) front loader and replace the seal/tub bearing&shell or inner basket.
Assembly
Bearing and Seal notes:
Tips for removal / replacement of inner tub....
- After removing the back panel and drive belt, remove the pulley from the shaft. The bolt is removed easily, but we often have to gently pry around the base of the pulley to remove it (unless you have a puller). The pulley is very light and the metal is soft, so be very careful that you do not damage or bend it while prying.
- The inner tub will lift out once you have split the outer drum halves.
- Remove the 3 tumbling fins from the old inner tub. The new tub will not include these, so you'll need to reinstall the old ones. They are held on by one or to screws each. *Careful* of the outside of the wash basket as it is VERY sharp!!
Text help from jnicosia :-)
Related Links


